Making homemade butter from scratch is less of a challenge than most people think. Using rich cream and a kitchen aid mixer, this is a simple how-to that anyone can do.
Homemade Butter
We recently came across a raw milk opportunity that we couldn’t pass up. The goal for our family is some land with our very own family milk cow, but until then we are really excited for this raw milk source! We were able to see the cow and how much love and time is put into caring for this animal, so we feel really good about where we’re sourcing our milk from.
I went a little overboard and picked up 3 gallons of milk to last us through the week. My 4 kids have never had cows milk, so it was a bit of a risk (luckily they all enjoy the taste.). My kids are big water drinkers. When we do drink dairy it’s usually kefir or a dairy alternative like almond milk. I’m prepared to use the milk up in a few fun ways, so it’s just a bonus that they enjoy it plain as well.
First up on the list to make is butter. There’s no better way to use that thick layer of cream on top. Not only do you get a result that is rich, creamy and irresistible, but you get some left over buttermilk as well. Buttermilk can be used in a number of different ways, including biscuits, pancakes, and soups.
Why raw milk?
There are definitely some differing opinions out there on the safety and quality of raw milk. It seems people either love it or hate it. I was pretty neutral on my milk stance until I read up on some of the health benefits of raw milk. Pasteurized milk is heated thoroughly in order to kill off any harmful bacteria, which unfortunately kills a lot of the good bacteria and nutrients as well.
Raw milk is not pasteurized, so you get all that good bacteria and nutrients when you consume it. Studies have shown that raw milk can be very beneficial to our health. Those who consume raw milk have decreased rates of allergies, asthma, and respiratory illness, among other things. You can read more about the benefits and safety of raw milk here.
Things you’ll need:
Homemade butter can be made with raw milk or even with some heavy cream bought from the store. You’ll also need a stand mixer (I used my trusty old kitchen aid) with the whisk attachment. You may want a kitchen towel to cover the mixer with because it does get messy. I also used some parchment paper to wrap the butter in when finished.
Making the butter.
The first thing you’ll want to do is to let the raw milk sit overnight in the fridge. This gives the cream a chance to rise to the top and separate from the rest of the milk. If you’re using cream bought from the store, you can skip this step and just pour it straight from the carton.

When you can visibly see the cream layer, you can carefully scoop that out into your mixer. I used a 1/4 measuring cup to be able to fit into the mason jar opening. You could also use a spoon or ladle.
Once you have the cream skimmed off, you can add in some salt for salted butter. I left mine unsalted and thought it was rich enough. If using store bought cream I would probably salt it to taste.
Next you’ll set your mixer speed on high (I used setting 8) and let it mix. This is where it gets messy, so I put a towel over my mixer to contain any splash. I let it mix for probably about 10 minutes before it began to look frothy like the picture below.
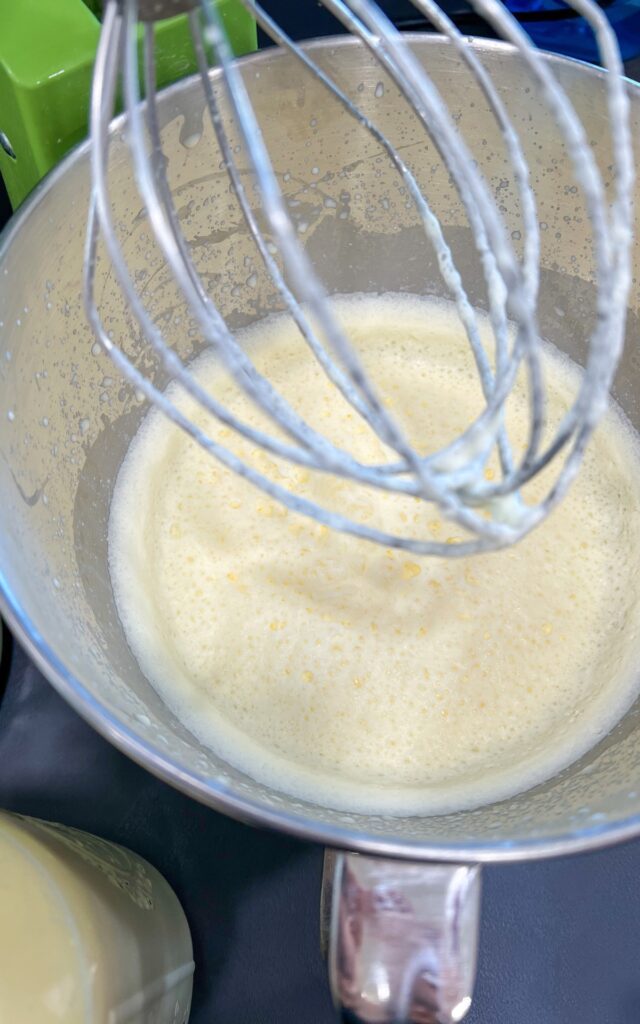
After it starts to look frothy, or more like a whipped cream, you’ll just keep on mixing. I kept stopping mine to take pictures and admire the process, but you could just let it keep mixing, too.
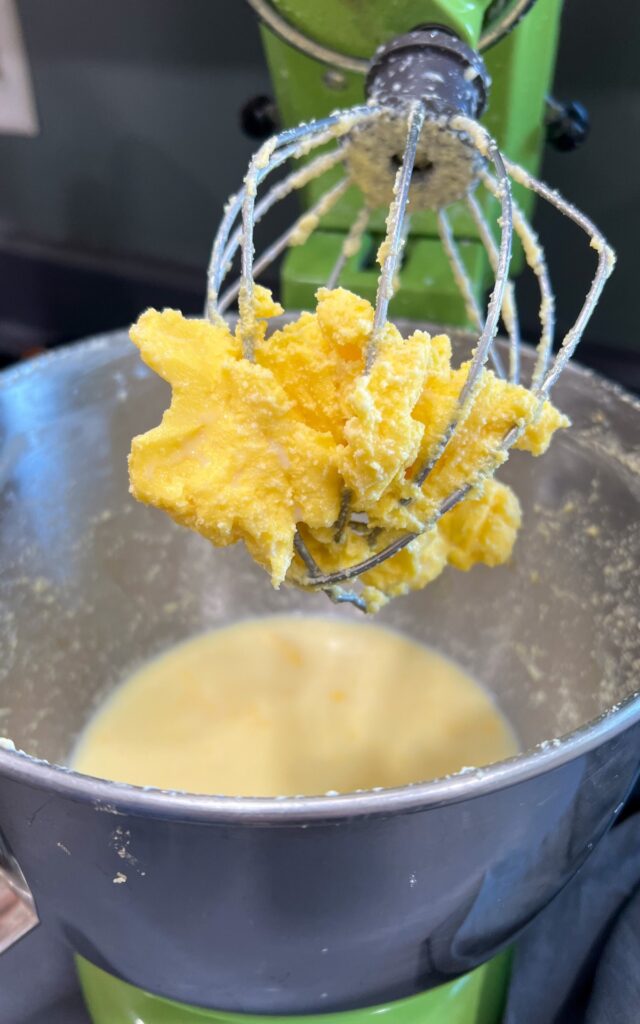
Next you’ll start to see it begin to solidify, and you’ll see some of the buttermilk begin to separate. This was after about 15-20 minutes of mixing on high. Here I turned down the mixing speed to a 4 to save as much of the buttermilk from sloshing out as I could.

I scraped down the sides with a spatula and let it keep mixing until some solid butter formed. I let this continue to mix for a few more minutes until most of the solids were sticking together and not floating on top.
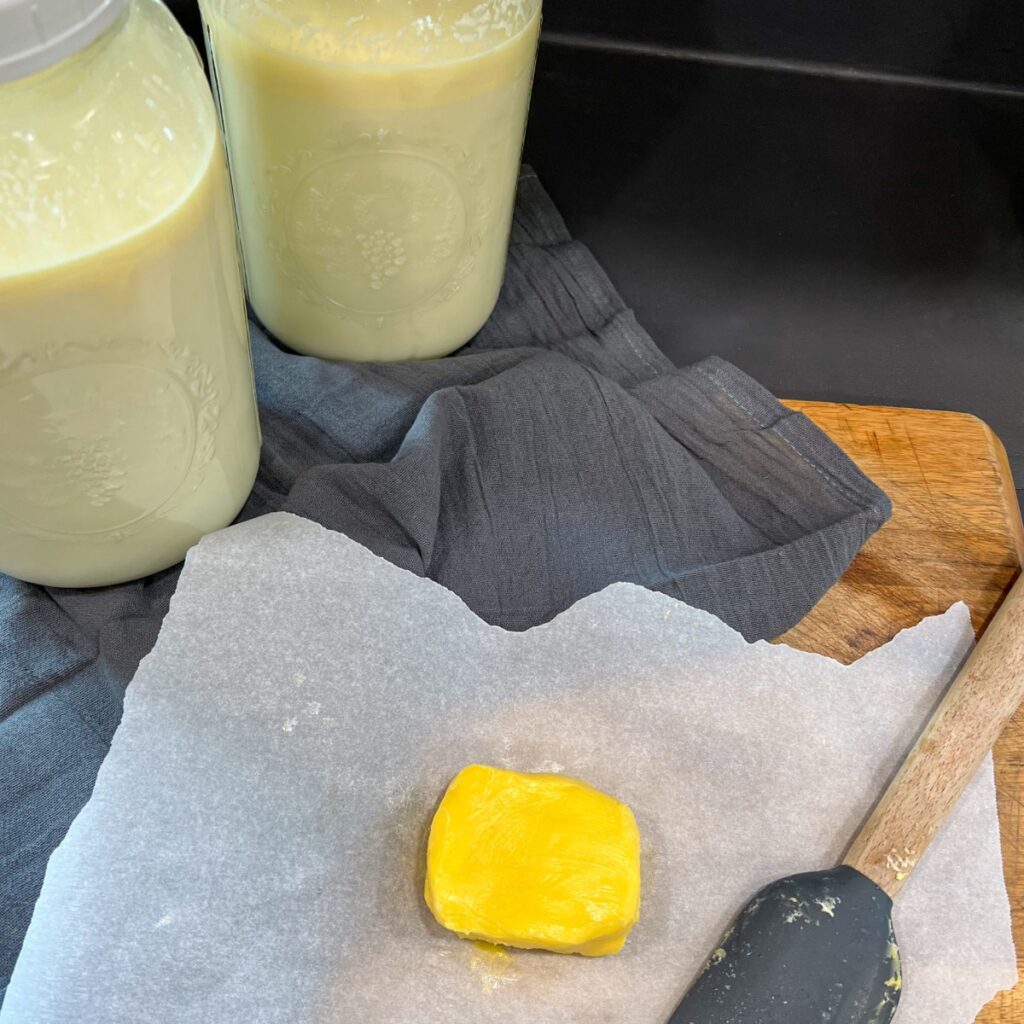
Then I scooped it all together and squeezed out the rest of the buttermilk using my clean hands. I gave the butter a quick rinse under some cold water to be sure all the buttermilk was out, and voila! Butter!
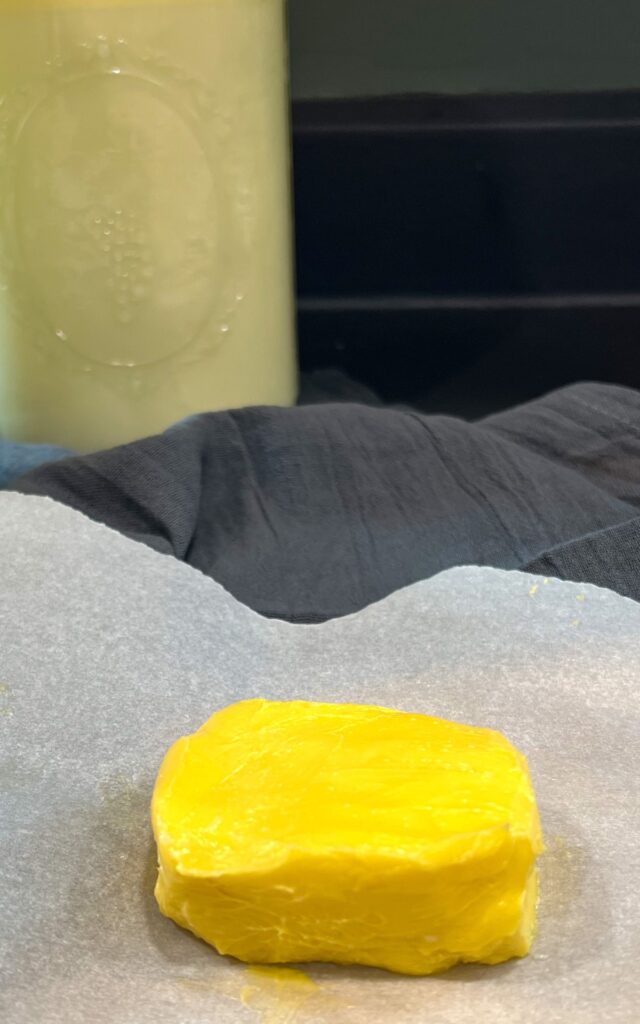
A real treat
This was some of the creamiest, richest butter I’ve ever had. This definitely felt like a treat! I won’t be using this butter for just anything, but maybe on some fresh baked sourdough bread, or using it to top some loaded baked potatoes.
Have you ever tried making homemade butter? Were you surprised at just how simple it is? Let me know in the comments what you think, and drop any suggestions you have for what to use your homemade butter with.
Oh my goodness you make this look so easy and yummy. Your step by step instructions are very clear and I like the way you educate people about raw milk through your research and own experiences. Previously I would never even have thought to attempt making butter but I might give this a whirl. So looking forward to your next blog.
Thank you! Yes, I thought butter making was unattainable at first. I had no idea how easy it was!
I have made butter with a mason jar and store bought heavy cream, but this is next level and looks so delicious! 😍
It is SO creamy and delicious! I’ve seen the mason jar method- I bet that tasted great as well. I love the ease of using the kitchen aid.
I love this! I had no idea how to make butter and my husband loves it. I will have to try this.
It’s definitely easier than I thought it would be! This is so rich and creamy- I’m sure he’ll love it!